Getting Your iPad Back Online
You will first notice your student's iPad has been wiped if the iPad shows the WELCOME screen

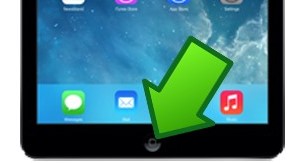
1. Press the Home Button. It's the circular button below the screen.
2. on the next screen, select "English"

3. on the next screen, select "United States". You may need to search for it in the list of Countries And Regions if it isn't on top.

4. on the Appearance Screen, click Continue.

5. On the Quick Start Screen, click Set Up Without Another Device.

6. Select your home WiFi connection.

7. After selecting your home WiFi connection, type the WiFi password and select "Join"

8. The iPad will show the following screen:

9. On the REMOTE MANAGEMENT page, select Enroll this iPad.

10. That's it! Your iPad is setup and ready to go.
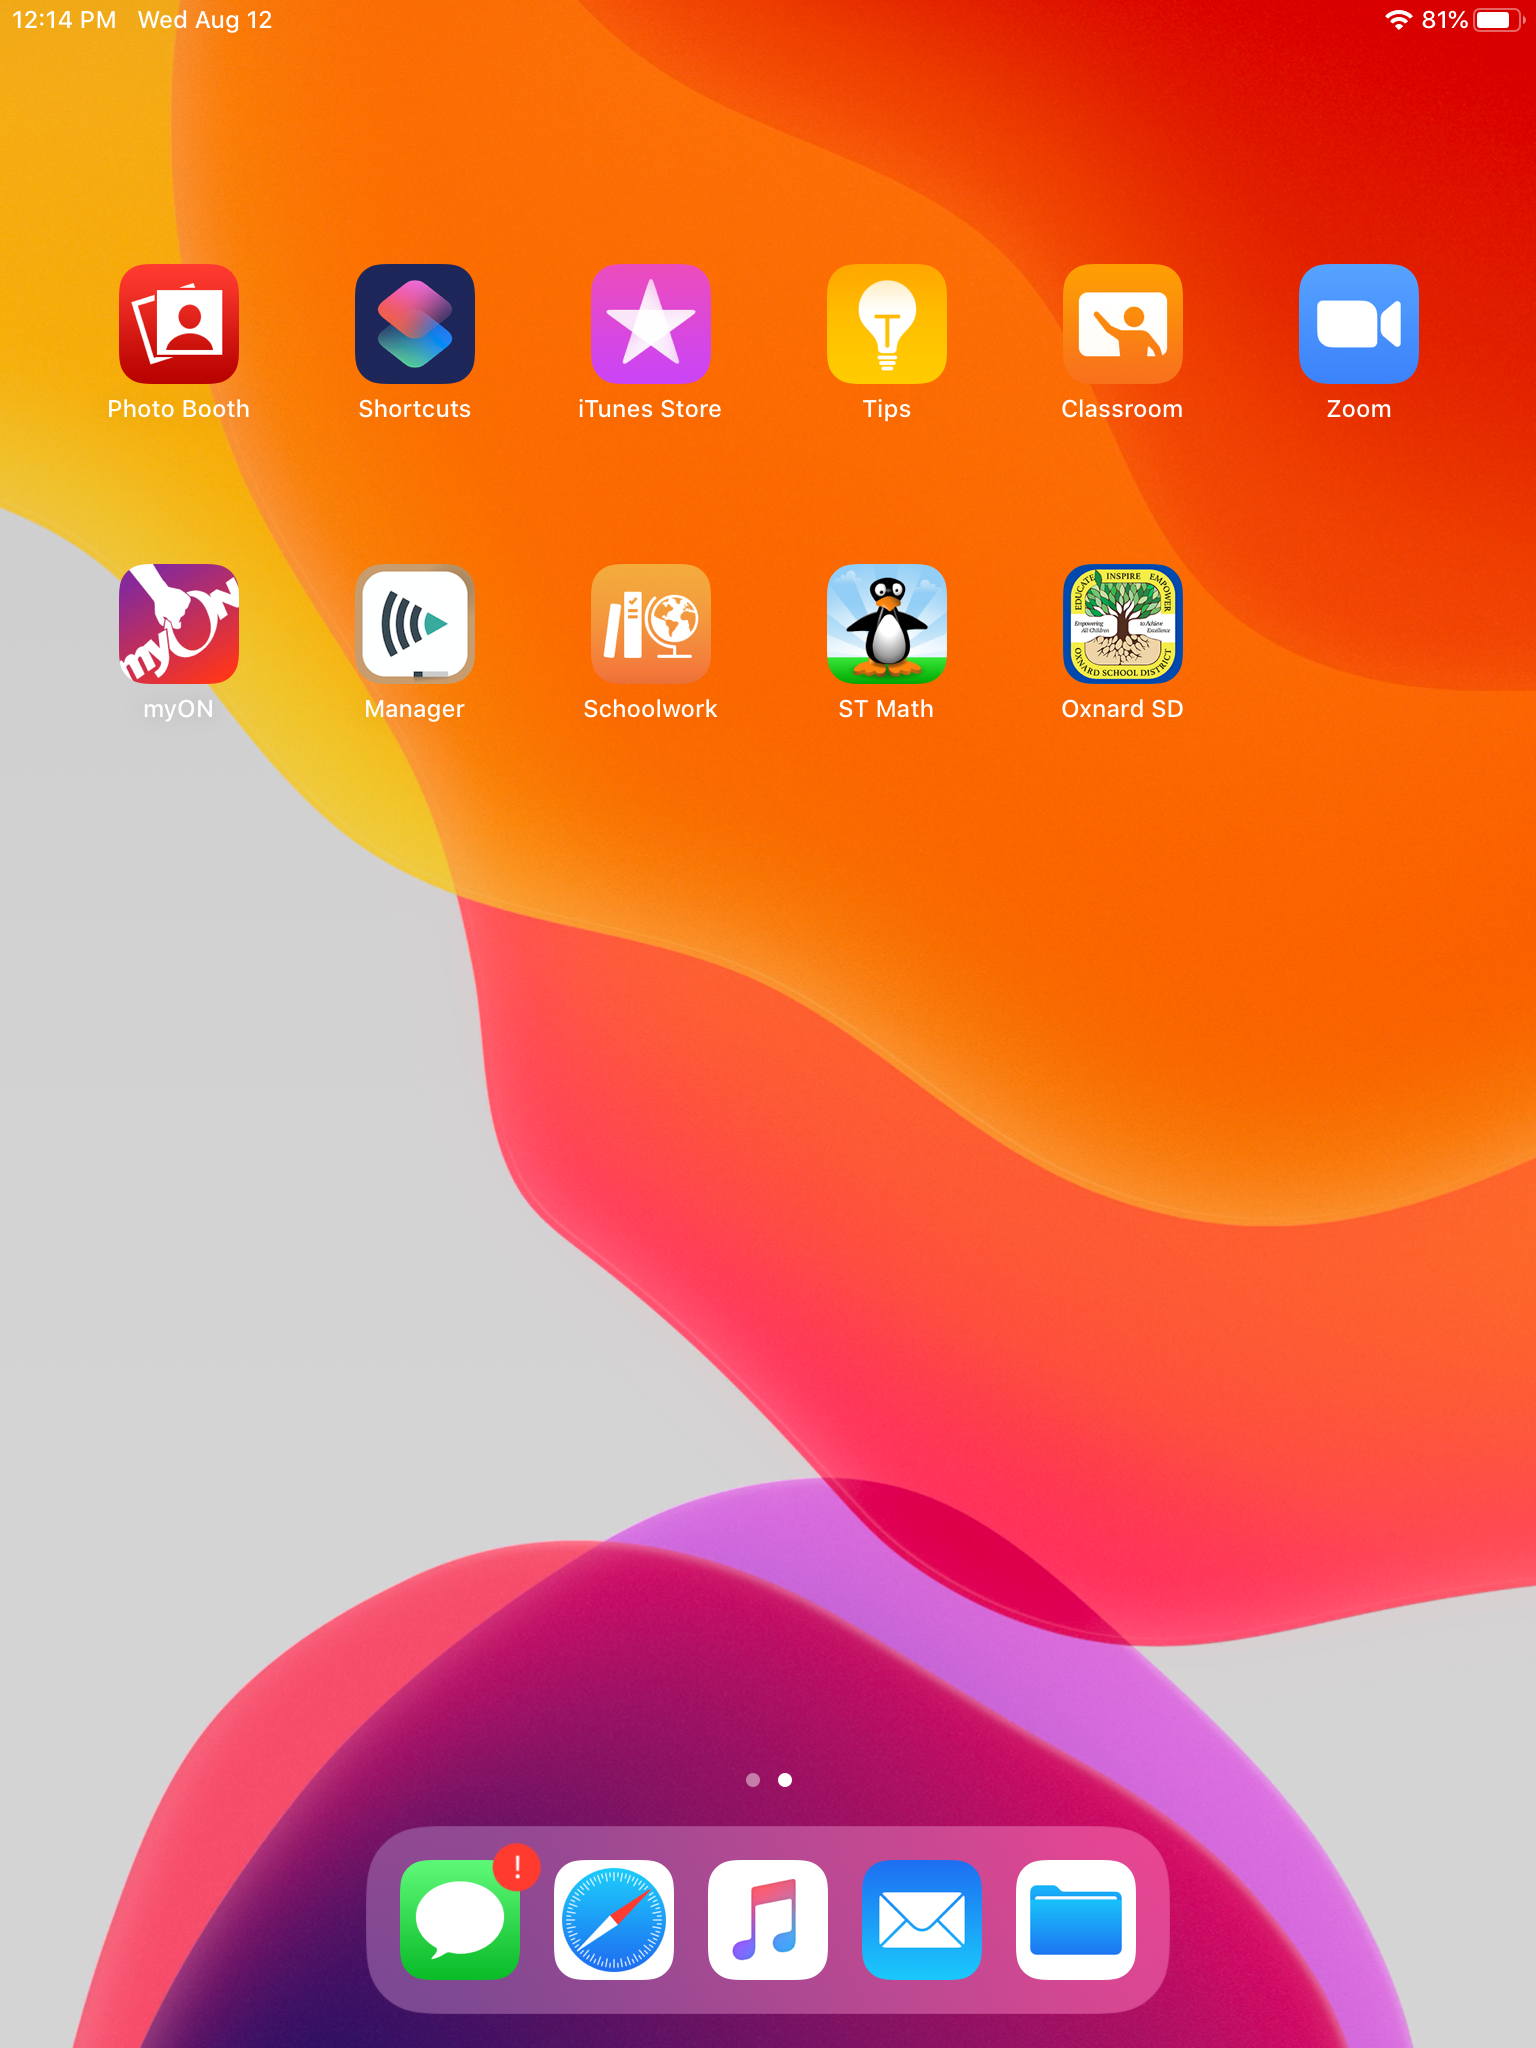
Your iPad should now be online and downloading District Apps.